
First Auto-Guide with a Celestron CGE Mount
(Continuing Initial Impressions regarding a newly acquired CGE Mount)
(For page 1, "First Light", click here)
Continuing the saga; here's my new rolling sun/rain shade taking shape. OK, still needs a second coat of paint but it's big enough to enclose the CGE + C14 + tripod, all dust-protected by that car-type cover. Mind you, I still take the hand control (where the CPU is located, or so I hear) and the GPS unit indoors. Perhaps 50 deg C is not too healthy for the more delicate electronics, who knows?!
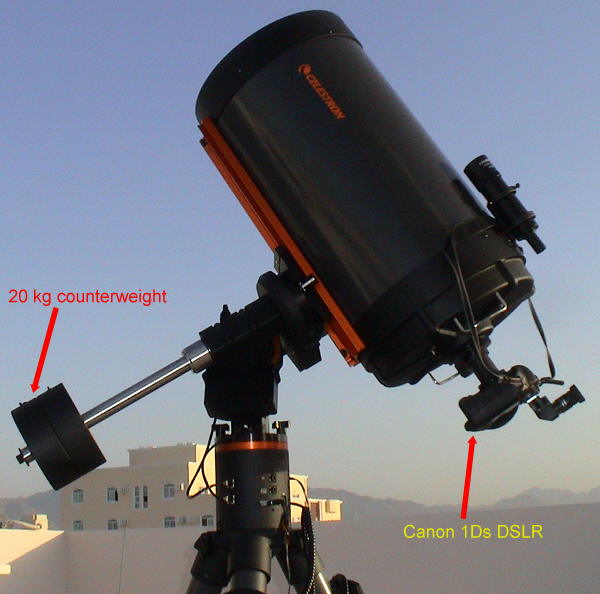
For my non-astronomer friends, all those SLR users craving a long lens, just to make you realize how large this stuff is, have a look at the Canon 1Ds attached to the C14 "lens", 3910mm f/11. I always thought of the 1Ds as an uncomfortably bulky camera, but it looks positively dwarfed by the C14. And I have not even received the lens hood (dew shield) yet...
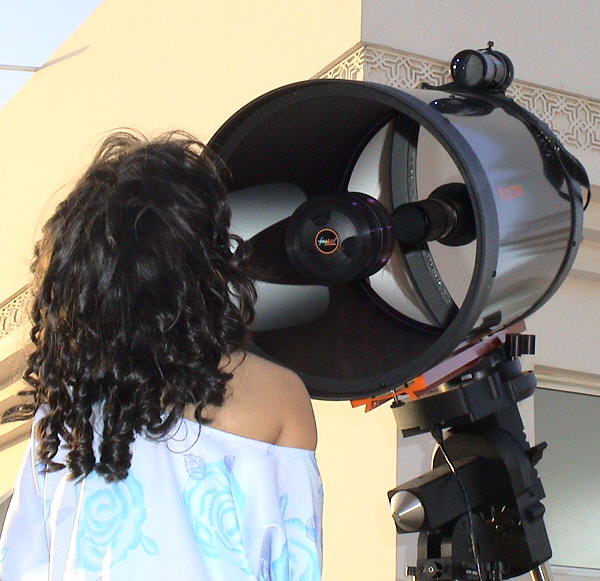
Perhaps she wants a macro portrait? Notice how clear the front corrector plate is. With the new XLT coatings, it really seems as if it's not there at all:
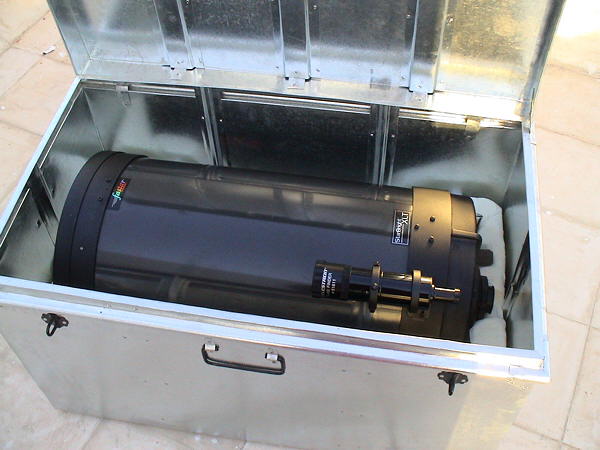
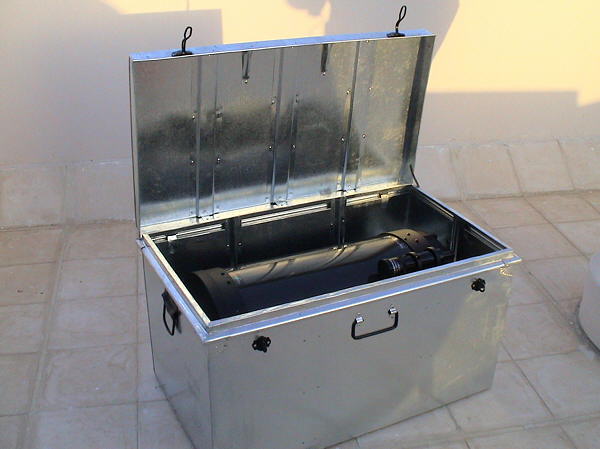
More metal bangers to the rescue! Custom-sized trunks for the scope, the mount, etc, each taking the original foam that the stuff was shipped in. Very convenient (4 custom trunks in all: scope, mount, one for optical accessories, one for electronics, all for $90, excluding the foam inserts):
Rest of the foam, cut into 2 pieces, goes on top. I also made a cutout in the foam for the finder. Saves on realigning it each time. The intent is that out in the field the trunks are usable as tables for laptop, etc:
With the C14 out of the way, let's get ready for more testing. Canon 600mm f/4.0L IS lens (another newly arrived toy) mounted on an 18" dovetail made by yet another metal banger (yes, they do specialize into little niches, but lovely folk all):
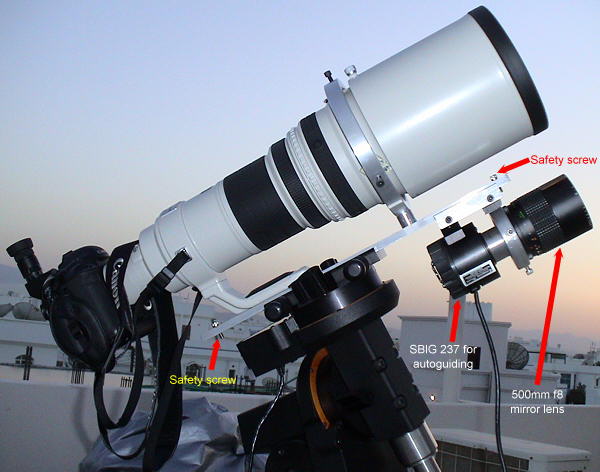
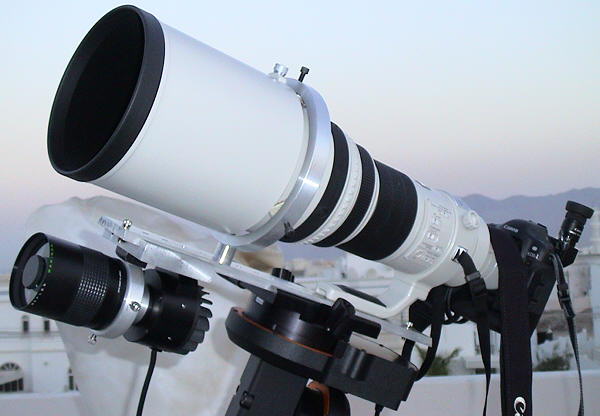
I thought it prudent to add the safety screws at the ends, similar to Celestron's on the C14, to stop sudden sliding to smithereens in the middle of the night. Interestingly, I found out that the locals here charge a lot for any milling work. Lathe work continues to be reasonably priced. So the Losmandy dovetail stuff is actually priced very reasonably. Nevertheless by going local you do end up with exactly the design you want, rather than using generic adapters to fulfill non-generic functions, like slinging that auto-guider upside down. Also possible with the Losmandy stuff, but you do end up paying for more rings, etc then the minimum you actually need. You can also keep the center of gravity for your equipment closer to the axes of rotation, since you are not forced to use adapters of varied kinds. The lens for the guider is a Makinon 500mm f/8 mirror lens, acquired with a Konica bayonet way back when. Removed the bayonet and stuck on a piece that offers a T-thread to the SBIG 237. Really tiny compared to that 600, eh? Below is another view. Actually, in normal use I secure the lens + camera straps to the mount for additional safety. I also need to fabricate a dew cap for that little 500. Yes we do get dew as a major nuisance with the approach of summer. For some desert plants that's their only regular source of water. The very deep hood on the 600 keeps dew out very efficiently. By night's end the top of the lens was dripping wet, yet the 6" diameter front element stayed perfectly dry:
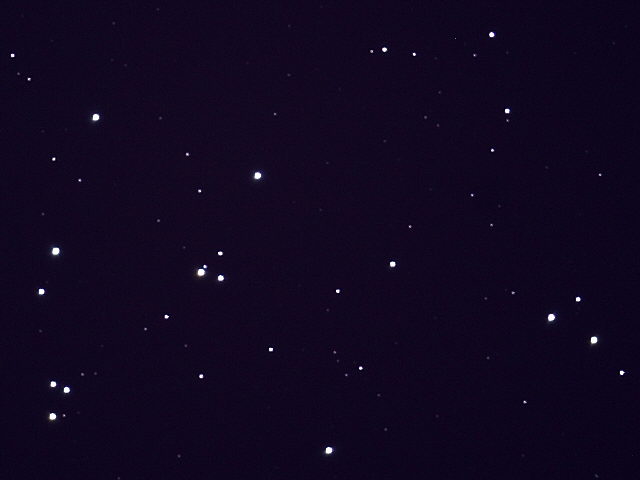
So did all this nice gadgetry track properly? This was the very first time I ever imaged with an auto-guider, 12th March 2004. I had tested the SBIG 237 as a guider on the Ultima 2000-8", through the scope at f6.3. It did guide, up to a fashion anyway. Basically things stayed within +- 3 to 5 pixels. So I was a bit apprehensive this time with the CGE. Auto-focused the 600mm on Jupiter (no-sweat focusing if ever there was such!) and slewed to M44, the Beehive. A nice, very simple target. I wished to test 2 things; how well did the autoguiding work, and also how sharp the lens was, corner-to-corner at f4. Normally I would shoot at ISO 1250 but the light pollution on my rooftop is so bad that in order to get a 5-minute exposure (long enough to evaluate the guiding), I had to cut back the ISO to 100 :-( Here is a typical 5-minute frame, using Daylight White Balance, but downsized, of course:
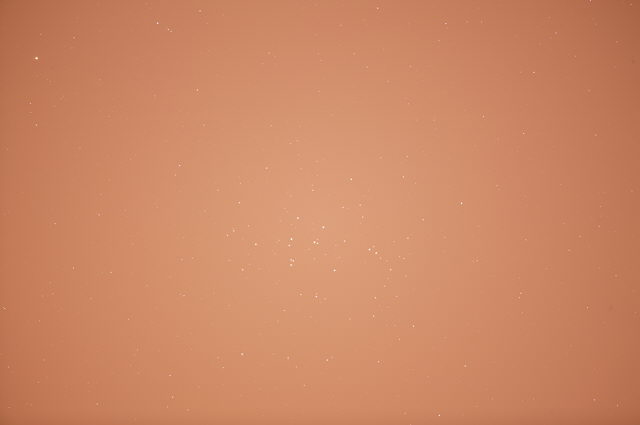
There's some vignetting, not unreasonable for f4, but should be fairly easy to flat-field out. Below is a frame that's undergone some minor processing. It also shows a couple of 640x480 pixel crops. Why that particular size? Because it's a popular format in low end CCDs (like the SBIG 237 that I now use as a guider rather than as an imager and also like my primary imager for planets, the Philips ToUcam Pro webcam). It also illustrates how large the current 35mm-format 11-megapixel arrays really are. Expect a lot of complaints about edge sharpness from scope users. Canon 10D owners who like their 1.6x crop factors (focal length multipliers for ad writers): would you perhaps prefer the much greater 7x crop factors of the little 640x480 arrays? They generally even have smaller pixels than the 10D ;-)
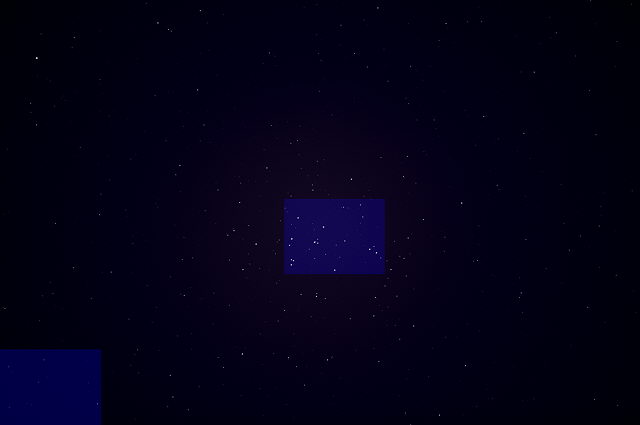
And below are the 640x480 crops shown at 1:1, first from the middle:
then the bottom-left corner:
Happy to conclude that the lens looks sharp enough at f4.0, corner to corner, and that the autoguiding works! Took 10 of these 5-minute exposures. All look similar, and the guider was still tracking after well over an hour. Must be beginner's luck. I hadn't even bothered to pay any special attention to balancing, backlash compensation, aggressiveness, etc. The guider continued tracking within +- 0.5 pixels most of the time but did have some excursions up to +- 0.97 pixels (+- 3 arc-seconds). I heard that recent software can track within a third of a pixel, but the CCDOps software I was using comes from the 1990s, so I do not know whether it's the seeing or I have to play with various parameters, or whatever. Perhaps it's the oft quoted steep part of the CGE worm Periodic Error. If so, then one can expect a somewhat reduced yield in long exposures at longer focal lengths (the CGE worm is 8 minutes long). My laptop cannot run the current versions of, e.g. CCDSoft. I suppose I'll have to get a new laptop soon :-( Left everything in CCDOps at default, whatever was there. Did not check, so no clue! Did calibrate though. But for me to get a 100% yield of fairly close to pixel-perfect tracking in 5-minute exposures at 600mm is a HUGE jump from a 20% yield on 2-minute exposures at 100mm (my typical results with the unguided Ultima 2000 and piggyback). Great! Now, can we also have a dark sky? OK, it so happens that the image scales for both my guider and my imager are a quite forgiving 3 arc-seconds per pixel; the crunch may well come when I go to higher focal lengths on the imager. My initial impression, nevertheless, is that DSO imaging at around 3910mm (C14 at prime without a focal reducer) is an unrealistic expectation for the CGE on a tripod in an open field. Things are simply too sensitive to wind, walking around, etc. Anyone who plans to go that long had better be prepared to pay for Adaptive Optics and/or a permanent enclosure of some kind. However, we have already seen that webcam planetary imaging at 8000 to 10,000mm works with no hassle, previous page, and so should lunar imaging.
The journey continues (added March 31st 2004):
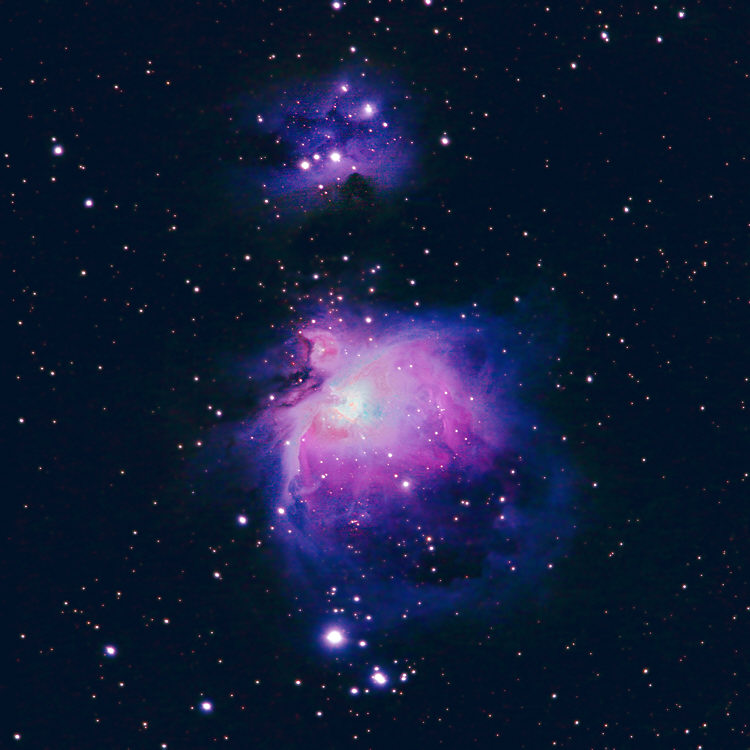
Finally managed to process a bunch of Orion M42 frames. Struggling with learning how to guide and how to process with ImagesPlus. All the frames were taken with the Canon 600mm lens + 1.4x extender, yielding an 840mm f/5.6 lens. Light pollution at my rooftop is rather discouraging. I can hardly make out the head of Orion when crossing my meridian near the zenith and a couple of hours later you can hardly make out the sword. Another hour and you see only Betelgeuse and Rigel :-( Also these days it's already well past the local meridian by the time you can take your first exposure. So I had to struggle to fit an Astronomik UHC (Ultra High Contrast) filter and an H-Alpha filter into the rear filter slot of the 600mm lens. Unfortunately I had purchased the filters for 2" eyepieces (48mm threads) and the lens requires 52mm threads. Adding a step-down ring makes the whole assembly too thick. I had to spend an hour grinding down the ring until things could slide in. Anyway here's one version of the outcome using the UHC filter (11 exposures of 5 minutes each at ISO 800, one frame discarded for slight trailing):

Actually I augmented the photo with a number of 2-minute frames and 10-second frames (for the Trapezium). I think I put in a fair effort over two nights. The final composite above contains 5 darks, 4 flats, 8x10sec, 5x120sec, 11x300sec. Even then I had to mask out some severe light pollution banding. I also had another 12x300sec of H-Alpha that I did not use since they did not in fact go any deeper than the UHC filter. I am impressed that the Canon lens does resolve the Trapezium very decently in 10 second exposures, wide open, but I still mess things up when I align and stack all the numerous frames, hence losing sharpness along the way. Can't really print a sharp 12x18" glossy from the above, not the lens' fault. OK, it does in fact print very satisfyingly tack sharp at 8x12" glossy. Practice, practice to get up to my beloved 12x18". Just to demonstrate that a sharp 12x18" glossy print should also be feasible, here is the Trapezium cropped at 1:1 from a single 10-second frame:
All in all I am disappointed that over an hour's total exposure did not yield a deeper M42, and barely a hint of the Running Man, despite going through the whole hog of dark frame subtraction, flat fielding and even attempting H-Alpha on its own. In this regard I conclude (at least as a prelim) that the Astronomik UHC filter is so precise in its filtering that there's not much to be gained by shooting H-Alpha independently and adding it in as the R-channel. Still, the filters are fine, optically of high quality, and essential for practice at my light polluted rooftop. I'll still need to travel to a dark sky site once I get the hang of things :-(
Added in November 2004:
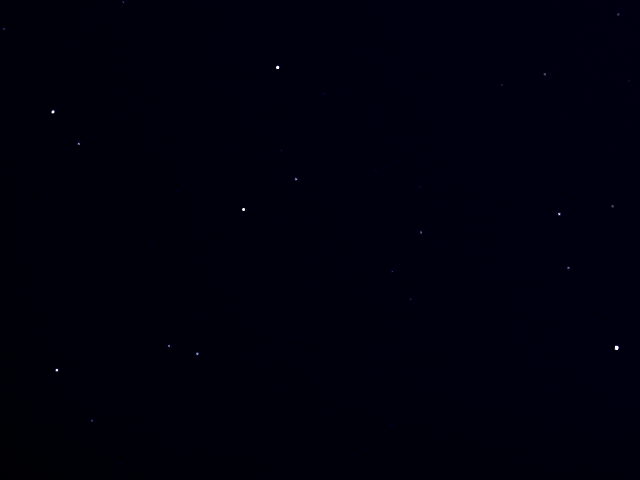
Went to a slightly darker site (beach-house at Yiti) and shot off 10 frames at M42, 5 minutes each at ISO 1250, unfiltered. I was surprised at how much of the faint nebulae show up. I had to discard one frame because I bumped the tripod but the other 9 were OK, though totally washed out in the core of M42. Consequently I had to re-use the core from the above stack to obtain this:
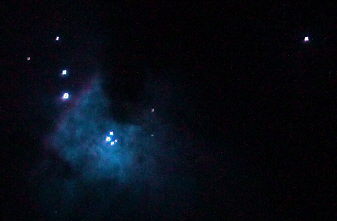
Encouraging enough to have a more serious attempt in the foreseeable future. Nevertheless the relatively low sensitivity to the deep red H-alpha, like the human eye, does render the image far more blue (from H-beta?) than what we are usually used to see from film and from astro CCDs. Below is another quickie attempt at the nearby Horsehead and Flame nebulae, taken the same night:
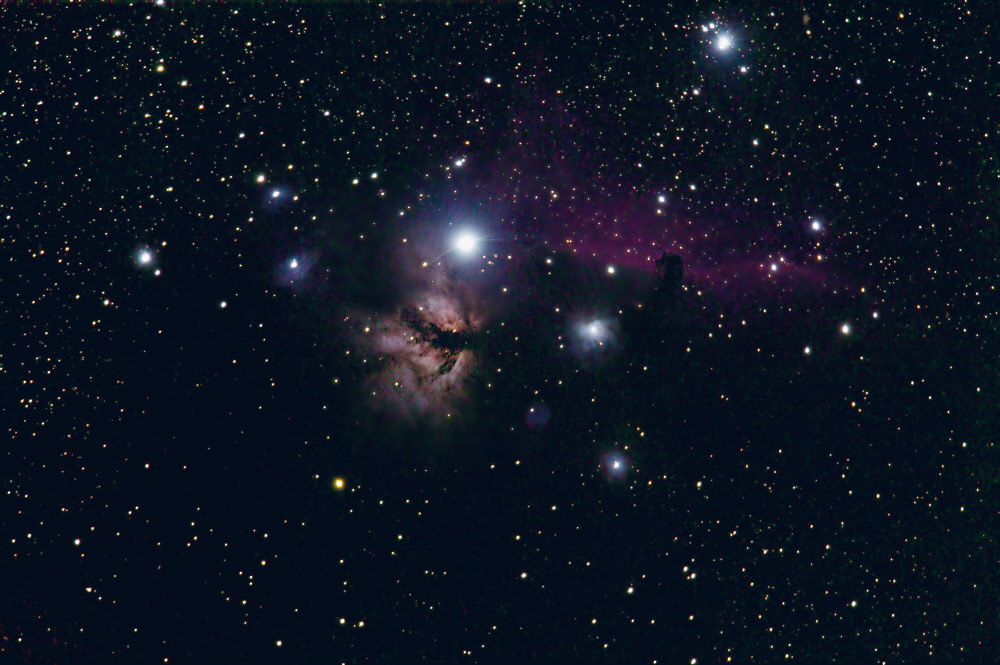
Note how dim that H-alpha nebula around the Horsehead comes out. It also picks up a bit of blue.
For other stuff click here.